
Is your mouth watering already? Mine is! In our house there is nothing better than a creamy, decadent mac n’ cheese. Add bacon? We’re doubly in. No matter the season, time of day, or weather, if you cook up a batch of homemade mac n’ cheese, you will have Jared and I’s full attention.
Like all good recipes, this one came to life because it just plain sounded good. Jared made it very clear when he left for work that he wanted something really tasty for dinner. Like, reallllly tasty. (Emphasize the really a couple more times.) Quite frankly he acted like I had been starving him out, when in reality I’ve just been sick this week and not cooking to my fullest potential (or any potential). Apparently it was time for the fend-for-yourself regime around our house to come to an end. Lucky for Jared, I was feeling much better and decided bacon mac n’ cheese was the way to go.
When I started this recipe I was going off of memory and creativity. Many moons ago I made a mac n’ cheese, following their recipe to a “t”. I could never get this recipe cheesy enough for our taste (I do work for a cheese company, cheesy-ness is of utmost importance!), but it taught me a valuable lesson about making roux. Using that, I winged this recipe with what I had on hand, and (thank goodness) it turned out delish! The good news here, is that there are a million ways you can modify this recipe based on personal preference, or what you have available in the house. Because, if you’re like me, there is nothing more frustrating than having to have to run to the store for one ingredient.
Okay, now to the good stuff!
Ingredients:
- 1 lb. bacon (you don’t have to add bacon, but the grease helps with your roux so I like to start with bacon)
- 2 tablespoons Rumiano Butter (salted or unsalted)
- 3 tablespoons flour
- 3-4 cups milk
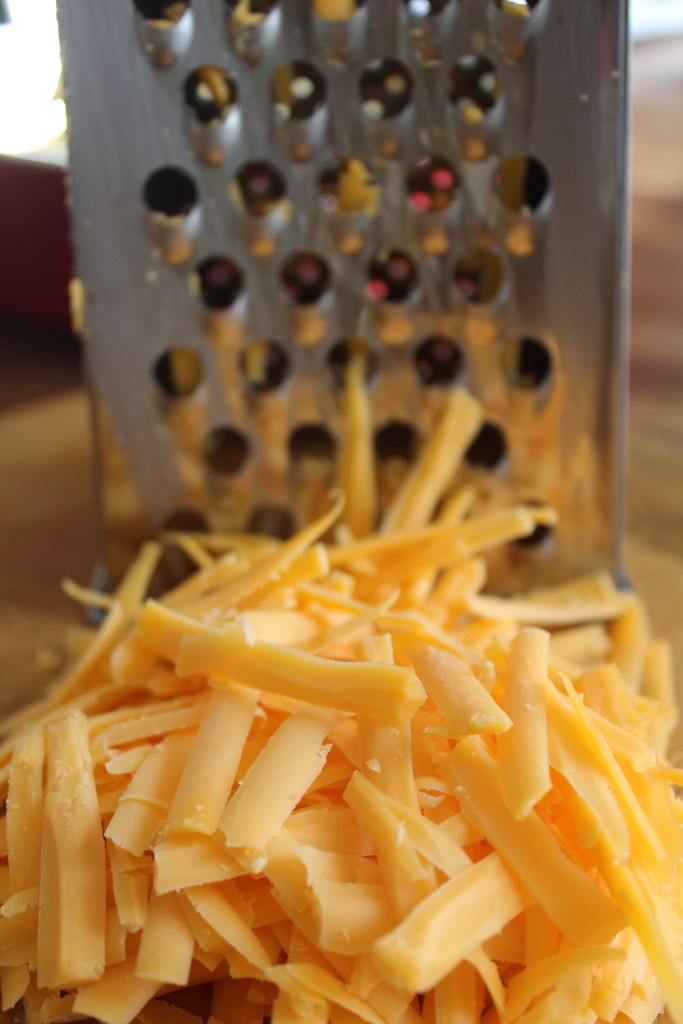
- 4-5 cups shredded cheddar (don’t feel limited by the quantity I have here! Cook with your heart baby! You can also use any cheese, depending on what you have, and it can be a blend of cheeses.)
- 4 oz. cream cheese
- 1 package of noodles
- Salt, pepper, and other seasonings to taste
- Bread crumbs for topping
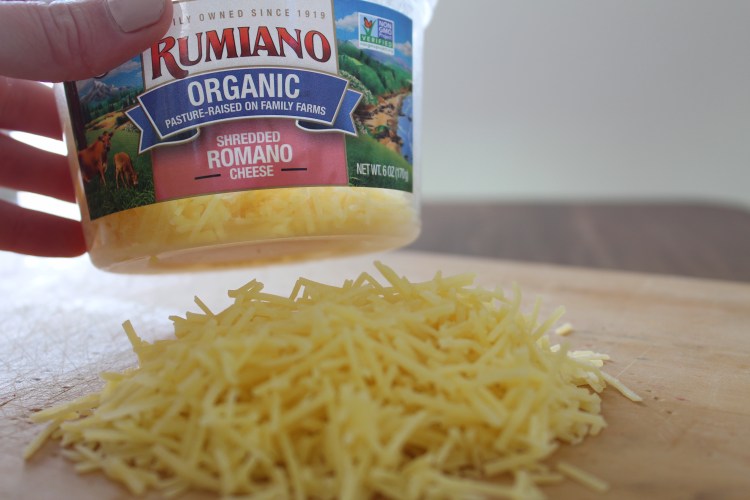
- Rumiano Grated or Shredded Parmesan or Romano for topping
How-to:
- I started out by boiling my water and frying my bacon.
- Once my water was boiling, I added my noodles (cook per package instructions), and finished frying my bacon, setting to the side as they were finished.
- When my noodles were done, I drained them and set them aside until later.
- When the bacon was done, I chopped it up in little pieces and set to the side.
- I left a couple tablespoons of the bacon grease in the pan and drained the rest.
- I turned the heat back on to LOW (your pan should still be a little warm, and you don’t want to burn the next couple steps) for the pan with the remaining grease. If there are some burnt crispy bits in the bottom of the pan from cooking the bacon – even better! All will add to the yummy bacon flavor in your sauce.
- Add the butter to your grease and let it melt. (You can also add some chopped garlic at this point and let it cook a minute before moving to the next step.)
- Add the 3 tablespoons of flour and keep stirring. Make sure to stir the pan the entire time so all of your flour gets absorbed into the liquid, and it browns without burning. It will bubble and froth here a bit.
- Once you’ve got your flour browned and it is a nice thick mixture, add about a cup of milk. Keep stirring until the milk and flour is well-mixed. With the burner on low it will thicken back up. You want to keep stirring to prevent burning or sticking. (In case you’re wondering this is also the exact process for starting homemade gravy, file that away the next time you want to make your hubs happy!)
- Next up is the best part: add your cheese!! And stir, stir, stir. It should be very thick at this point (you can adjust your cheese up or down depending on your preference).
- Add your bacon pieces back to the mix, and turn off the heat.
- Make sure all is well-stirred, and add some salt and pepper to taste. **Notes on seasoning recommendations and different flavor options below!
- Now, your sauce will be very thick. You’re probably thinking, “crap, what did I do wrong?” Not to worry! I thought the same thing. Have faith, leave your burner off, and move back to your noodles.
- Add the drained noodles back to their big pot, and set your oven to 375 degrees.
- Add your sauce to the noodles and start stirring. Your sauce should still be warm so it should blend into noodles nicely. As needed, turn your burner on low.
- Here is where you will add a couple more cups of milk and keep stirring. With the added milk, your sauce will start to thin out and cover all the noodles. Add more milk as needed to get to the consistency you like, but take some time to really stir before you add more. You don’t want to end up with watery sauce! I always learn too late, that a little goes a long way. Learn from my mistakes!
- With a low heat on the burner, I added cream cheese. Cream cheese isn’t necessary, but it adds a layer of decadence and creaminess. If you don’t have any, don’t worry! Stir it in good and let it melt completely.
- Once you have your mac n’ cheese to the consistency and flavor you like, add it to your cooking dish.
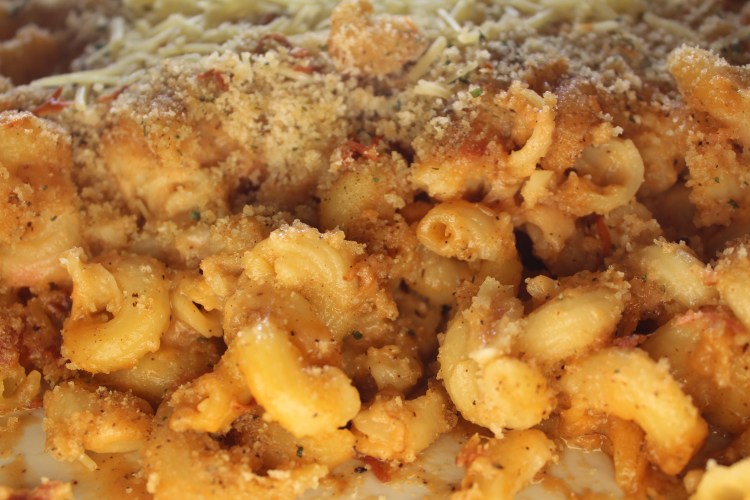
- Top with a light layer of bread crumbs, and Rumiano topping cheese of choice!
- Your dish will be warm, but to heat back up and brown the top, give yourself 15-20 minutes for baking prior to serving time. If your cheese isn’t as brown as you’d like, turn the broiler on for the last couple minutes.
- ENJOY!
**From Step 12: We love Ted and Barney’s meat seasoning (for everything) or Morton’s Nature’s Seasoning (also on everything). Either one is great for seasoning this dish. I also forgot to add garlic in the initial steps, so a little garlic powder did the trick! If you’re of the spicier variety, you can add cayenne pepper. You can also swap out cheddar for spicier cheeses, like Rumiano’s Island Fire Dance, Habanero Jack, or Pepper Jack! However, if you do go spicier with the cheese, I recommend blending it with a mild cheese like cheddar or jack so you don’t smoke the house out!
This is clearly one of my “stick-to-your-hips” recipes, but well worth it! I can’t wait to cook this recipe up throughout the cold months, and share with our family. I will continue to tweak and adjust it as I go, because if you know me you know I cook with heart and a prayer! I encourage you to follow the steps, but adjust the ingredients to what you have on hand. It will be your own masterpiece that will have people begging for more…

Cheers, to shared meals and beers, with family and friends!
