For the past few years we have thrown a big holiday party at my parent’s house, complete with a six-foot cheeseboard. Oh, yes. Six whole feet of cheese, crackers, meat, fruit, nuts, veggies, and appetizers… My cheesy heart is always in absolute heaven putting this together. I love planning it out, working with my favorite cheeses from across the country, and giving my family a sneak peak into the wonderful world I’m immersed in every day.
As we all know… this year is different. I have my own thoughts and feelings on COVID (let’s not even go there), but after talking with mom, in our hearts we knew the best thing to do would be to postpone. At the end of the day this year has been hard on all of us and we’d hate for anyone to get sick and not be able to spend Christmas with their family.
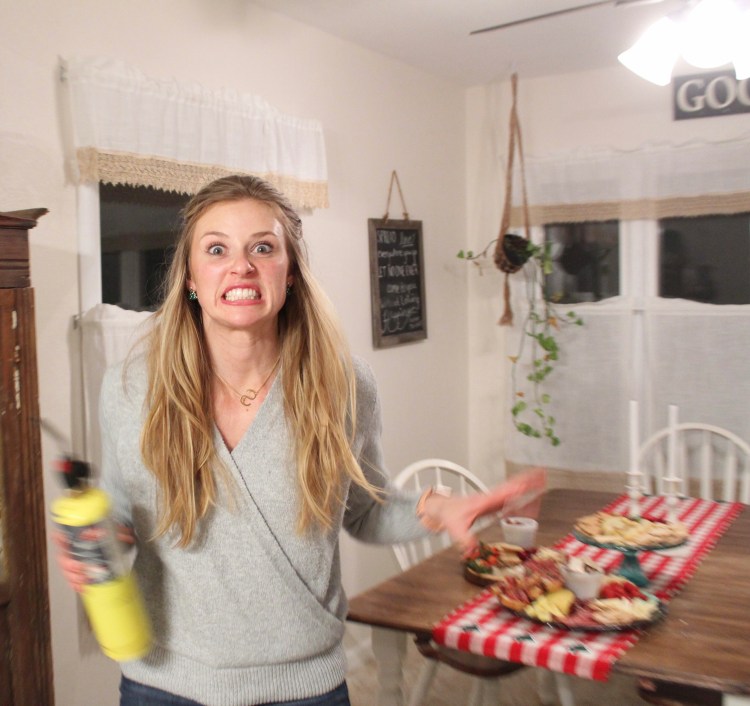
Knowing we had to postpone the party and that it would look a little different this year (hint: much colder, yet more flamage), my cheesy heart was jonesing. So, I decided to hell with it all! And to make one anyway. Just miniature, and sans my favorite people (cue sad tear).
Cheeseboards have become so popular in the last year, and there is creative inspiration everywhere, but I couldn’t help sharing my own favorite cheeses, ideas on combinations, plating, and appetizers. You can probably get better ideas and inspiration from scrolling Instagram or Pinterest, but if you’d like a simplified beer-board, then keep reading!

My first order of business was to hit Nugget Markets. They are my all-time favorite retailer. If you live near one, do yourself a favor and just make that your everyday market. They have everything you need from natural to specialty to conventional products, and (I know this because part of my job is to basically judge retail prices) they are competitive on the shelf. I sound like I have a major crush on this market, because I do, and if you need any other reasons to go to one, give me a ring.
Anyway, Nugget is relatively close by and they are my one-stop-shop for building cheeseboards. They have a specialty cheese counter where I can get my faves, they have a great selection of crackers, house-baked bread, crackers, meats, etc. So Saturday I headed down to pick up my loot. Remember: pick up cheeses that represent different varieties, textures, milks, colors, and ages.
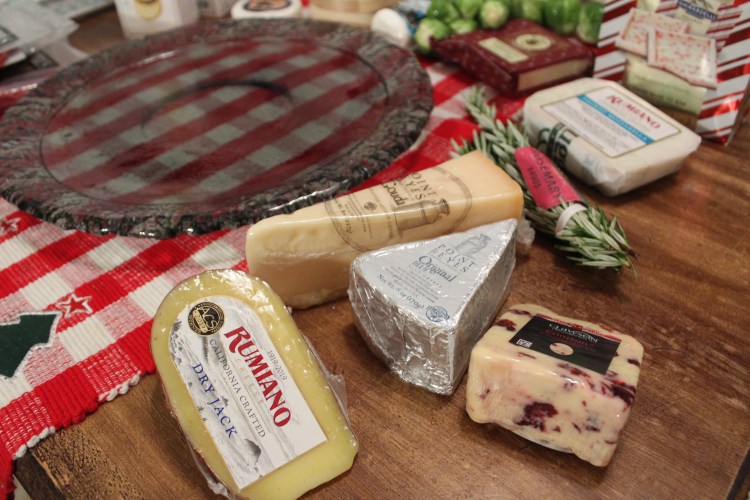
To start my boards, I lay out all my materials – board(s), cheeses, crackers, etc. I like to drum up a visual plan in my head (although you know I have been thinking about this all week and have a thousand ideas anyway). I start by constructing my bases – i.e. stands, bowls, etc. – so that I can work around those and build off of them. I like to mix up the textures and heights on my boards so it is visually stimulating and doesn’t fall flat. Cake stands are key! And I was able to utilize some of the milk glass cups that I bought for our wedding to use as bowls and give some additional height. I also love mixing wood boards or rounds with my Fire and Light dishes – texture and color! (Note: if I am doing a table-length board I will skip the platers and roll out brown butcher paper/wrapping paper and build straight on the table, still adding height with cake plates and miscellaneous platters/boxes.)

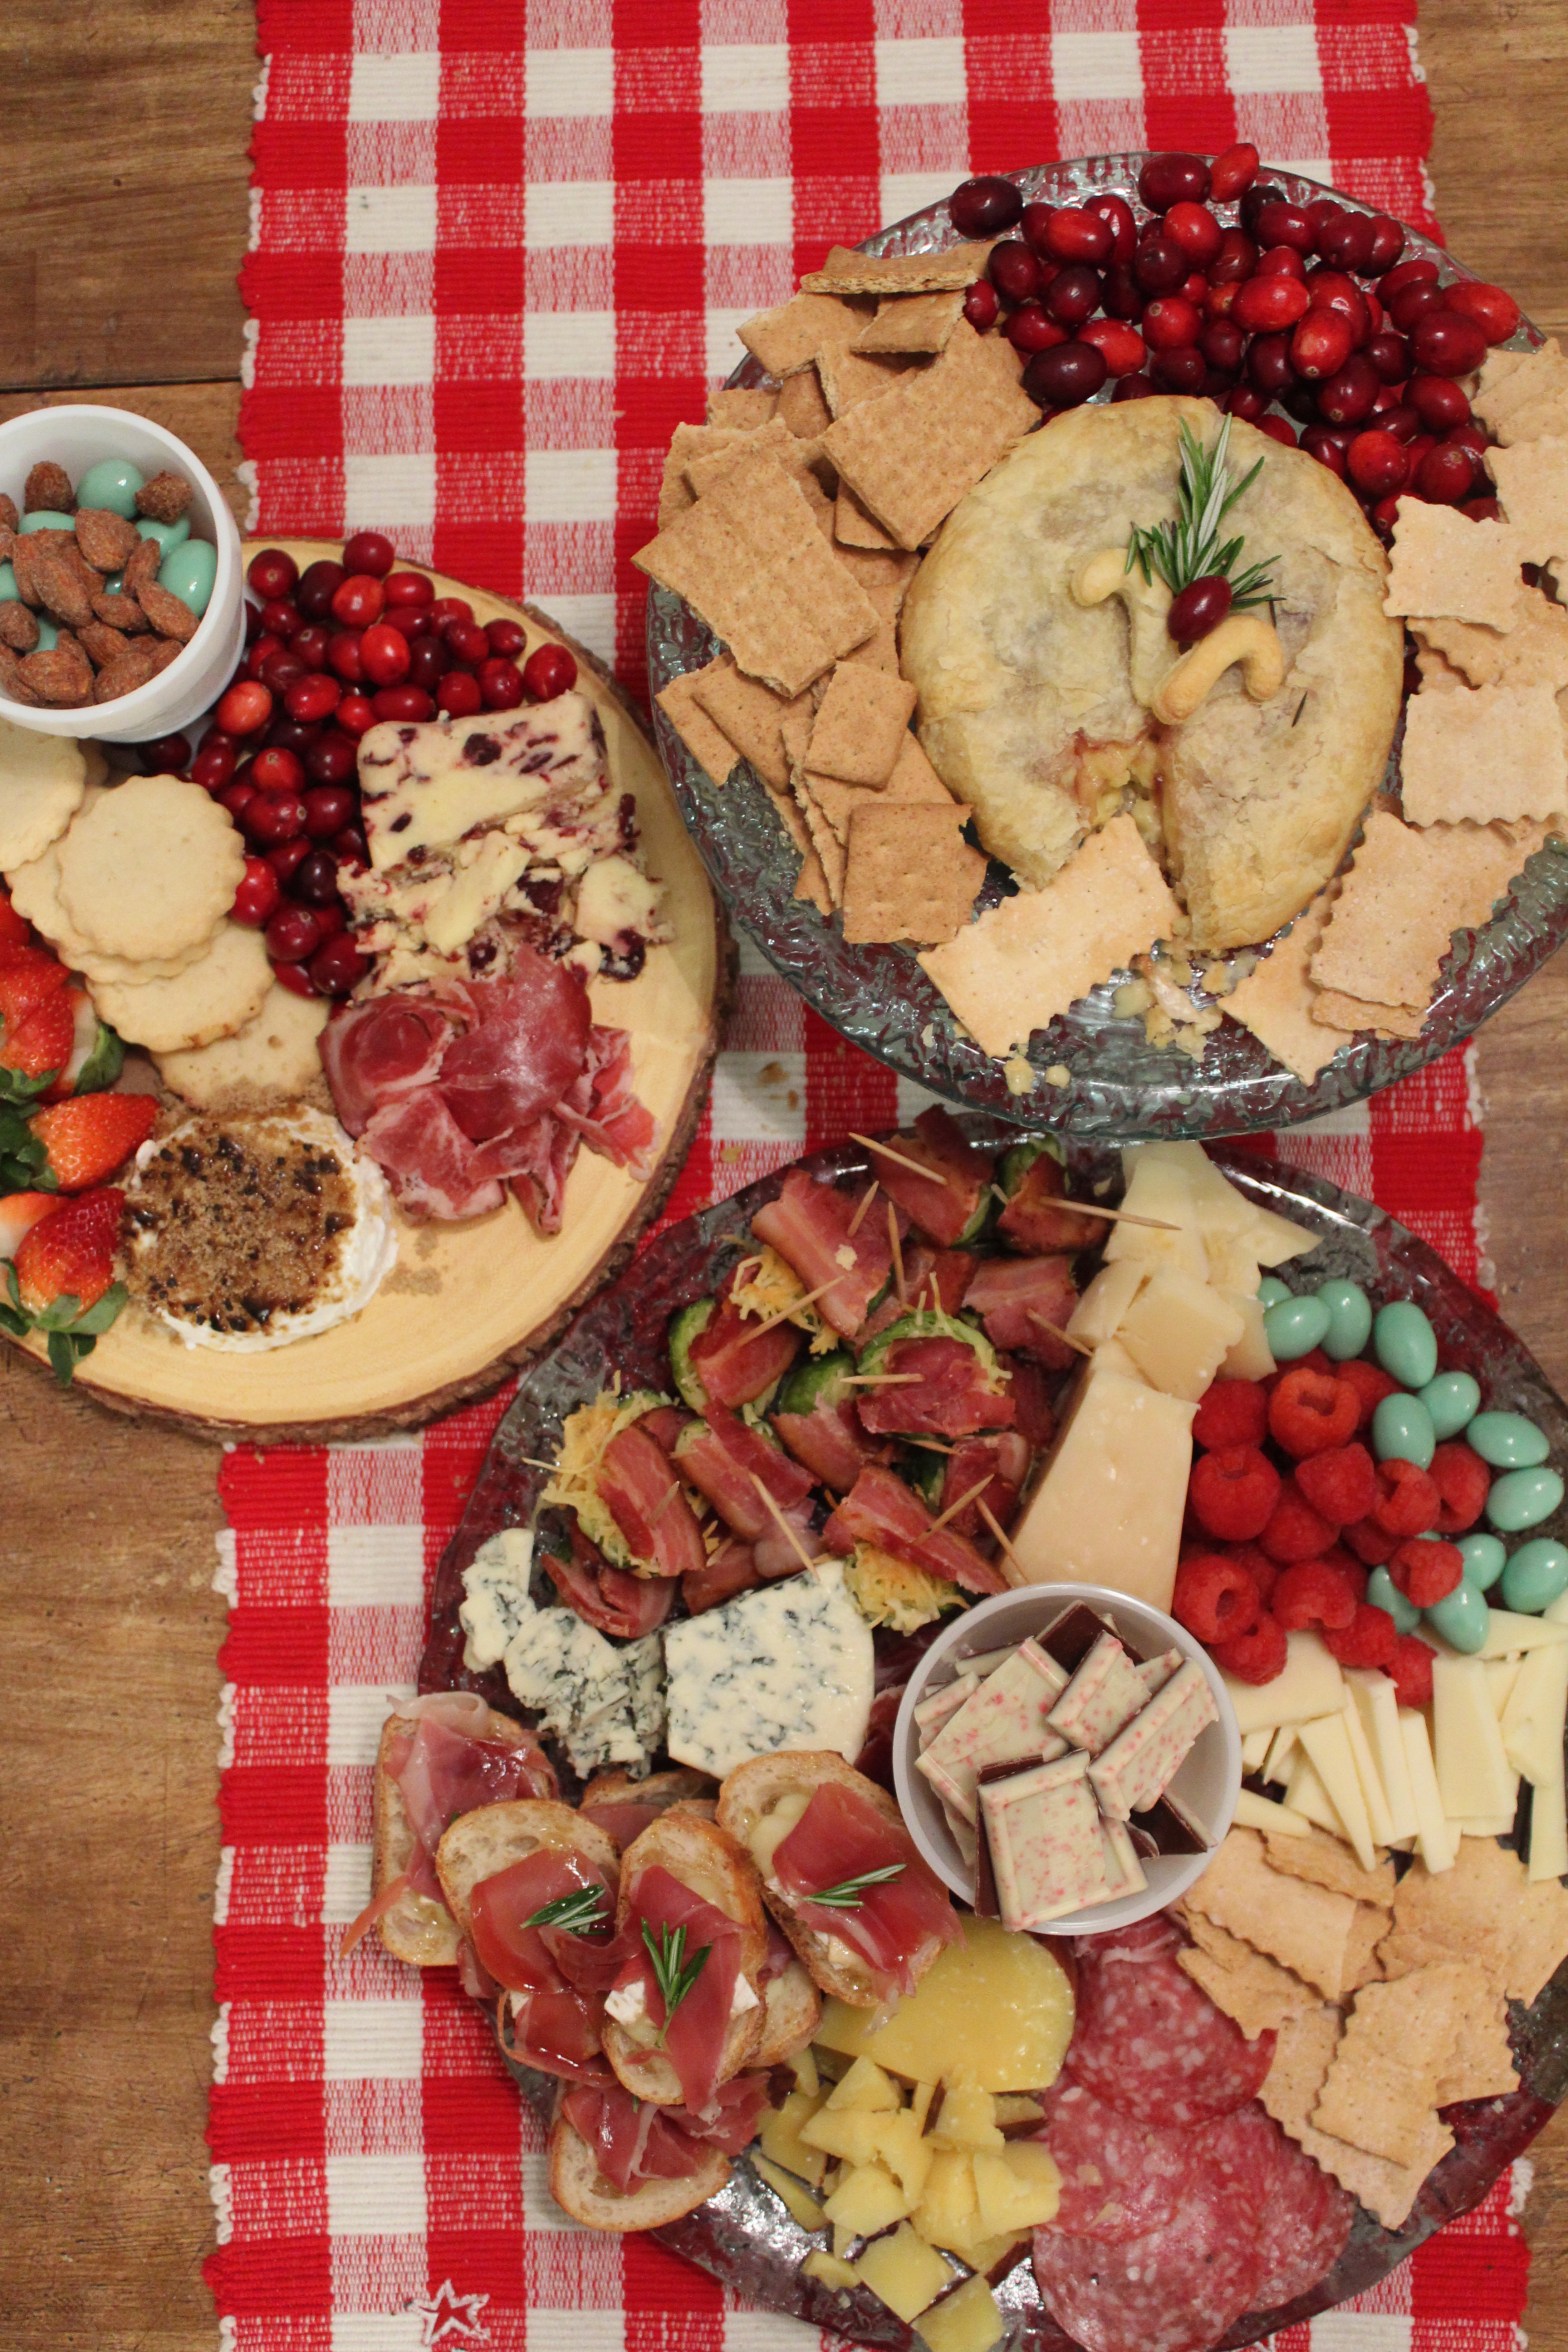
Next, I began placing the wedges of cheese, meat, crackers, and fruit. I alternate colors, textures, and foods as I work my way around the board. The theme of this board was Christmas, warm, and sweet, so there were fewer colors and vegetables, but I still found a way to vary the colors and textures. A key component of making a visually-appealing cheeseboard, is to fill every empty space. No. Open. Space. Fill it all up. It the picture above you’ll see I’ve even covered the base of the milk glass cup with Coppa. It gives an abundant and mouth-watering look to the board. Also try to place items that pair well together, next to each other. In the picture above you see I have some cheddar, with salami, plain crackers, and raspberries next to it. Any combination of these would be good together. Keep that in mind as you strategically place cheese and charcuterie around.
I continued to work my way around the board, placing my harder cheeses first. My cheeses were all room temperature when I started working, but as a general rule you want your cheese room temperature in order to experience the depth and complexity of flavor. Harder cheeses obviously take longer to warm up, versus fresh cheese, so you can/want to pull them out first.
After finishing my first pass with harder cheeses (you want different shapes, so if you have blocks of cheese, cut them into different shapes – cubes, triangles, thin sticks, etc.), meat, crackers, and sweets, I started to work on my “cooked” pieces. Normally I would have fresh veggies on my board, but because this was a warmer, muted-tone board, I had to come up with something else… And I wanted to add a couple things I knew Jared would like, so I whipped these up:
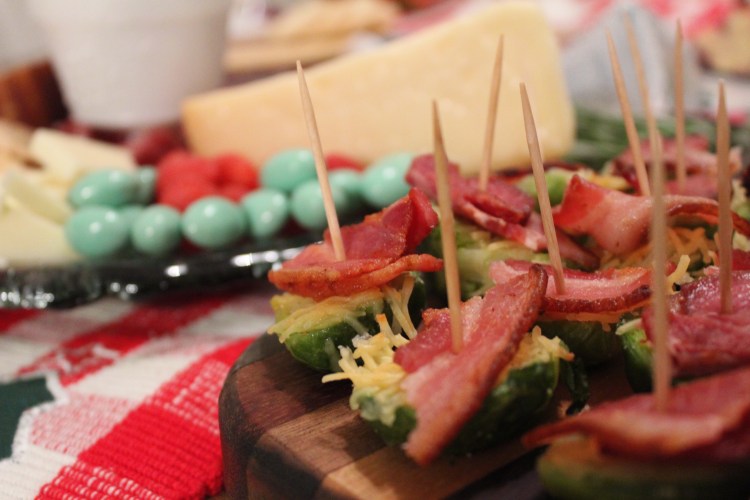
First I sliced my brussel sprouts in half and steamed them to speed up the cooking process. Then I put them on a baking sheet, gave them a heavy sprinkle of garlic salt, and topped with some Rumiano Shredded Romano, then popped them in the oven at 375 degrees. I left them in there for a few minutes, turning the oven on broil to finish melting/browning the cheese. While they were baking I fried up some bacon in 3 inch pieces. Once they were nice and toasty and the bacon was done, I pulled them out of the oven. I used a toothpick to secure each a healthy slice of bacon on the top of each sprout. They were so, so tasty! If you wanted to add an additional layer of sweetness, you can drizzle with honey and/or balsamic glaze. These were perfect for the board. They represented the veggie category, were warm, and met the color palette I was working towards. Plus, they were everything savory. These were good enough to be a standalone appetizer, too.
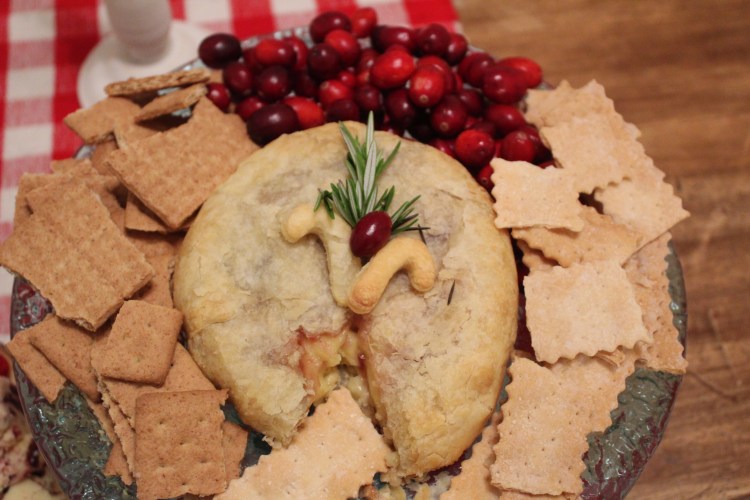
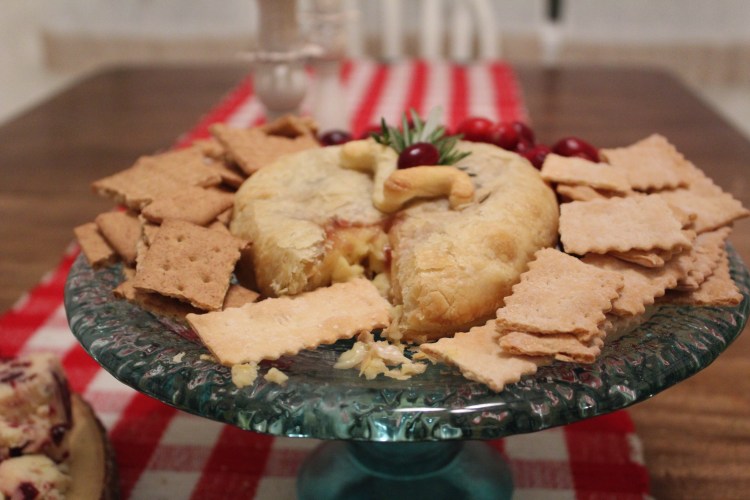
No cheeseboard (especially a Christmas board) is complete without baked brie (to be fair I grabbed a camembert not a brie, but they’re very, very similar). There are a million renditions to baked brie and stuffed brie… I have done tens of experiments with both and am rarely disappointed. (Remind me to start sharing my stuffed brie recipes… you basically will want to make one every week.) Anyway, brie is just one of my all-time favorite cheeses. The earthy taste, creamy texture, how easy it is to pair with, like, everything… I just love it. To make your baked brie, get a sheet of Puff Pastry and let it thaw out. Roll it out to approximately a quarter of an inch in thickness. Place your brie (with the top rind cut off the top) on the puff pastry. Use a butter knife it cut a circle around it, with enough additional pastry for it to cover the sides of the brie. Work your way around the brie, folding the pastry up. If it isn’t “sticking” together, add a dab of water and it will stick to itself. Next up you can add jam, fruit, or other sauce to the open top of the brie. Sticking to my theme, I added cranberry sauce (I didn’t have time so yes, I used canned). I though it would be a nice tart compliment. I would also love to do a cranberry chutney on one, maybe next time! Once you have your sauce on the top, you essentially treat it like a pie top – you can cut strips of the remaining puff pastry for a crisscross patter, or cut another, larger circle to cover the whole top, or use cookie cutters to lay designed pieces over the top. This time I opted to cover the whole brie, and use a candy cane cookie cutter for a couple pieces on top. Cook per the puff pastry instructions, approximately 10-15 minutes at 375 degrees. Once it was done, I added some color with rosemary and cranberry (this also tied the colors and textures in with other elements on the board).
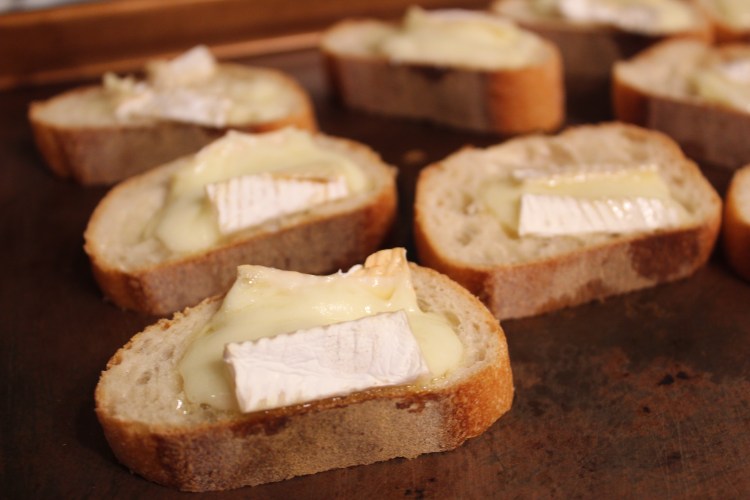

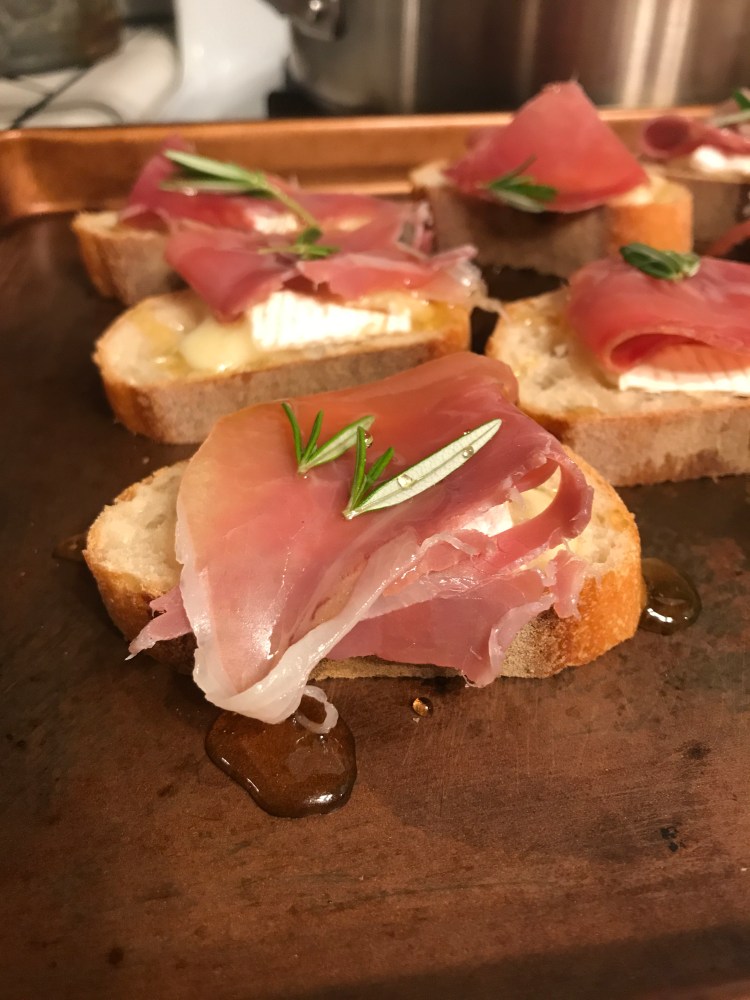
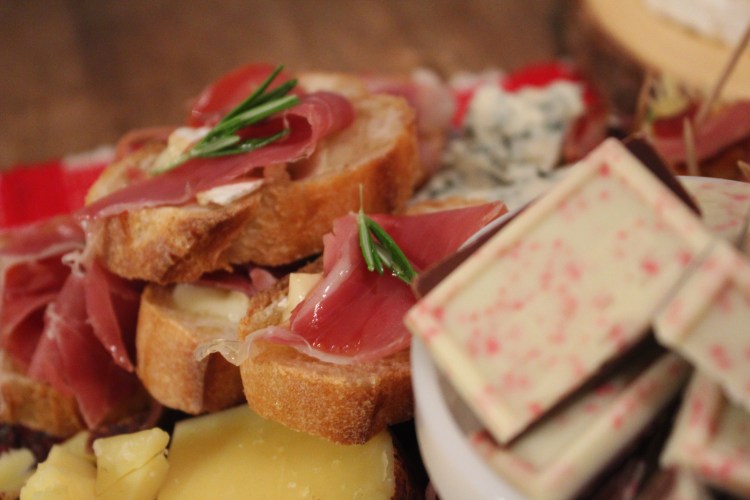
Last but not least on the “cooked” side of things, I made these baked brie, prosciutto, rosemary, honey baked baguettes. Jared wasn’t a fan of the honey, but I blew my own darn socks off with this one. I will 100% be making these for Christmas this week. Carby, salty, creamy, herby, sweet deliciousness. Heaven in a bite. Utlra easy – just slice up a baguette, and slice up round of brie. Tip: just like you don’t blend good tequila, don’t worry about getting an expensive brie to cook for this. I picked up a generic one from Grocery Outlet. Safeway also has a great private label brie. Once you have both bread and brie cut up, place the brie on the bread and pop into the oven. I left it at 375 degrees from prior uses. Once my brie was nice and melty, I pulled it out of the oven and used a butter knife to spread it out a bit. Then I tore my prosciutto into pieces and added to the top of each bread slice. I tore little bits off the rosemary sprig and added to the top, then drizzled with honey. Wah-la!

Once all these bits were cooked, I added them to empty spots on the board. You will find I also almost always put baked brie on a cake plate to elevate it and give it some prestige. Like I said, I love this stuff, so I think it deserves extra attention.
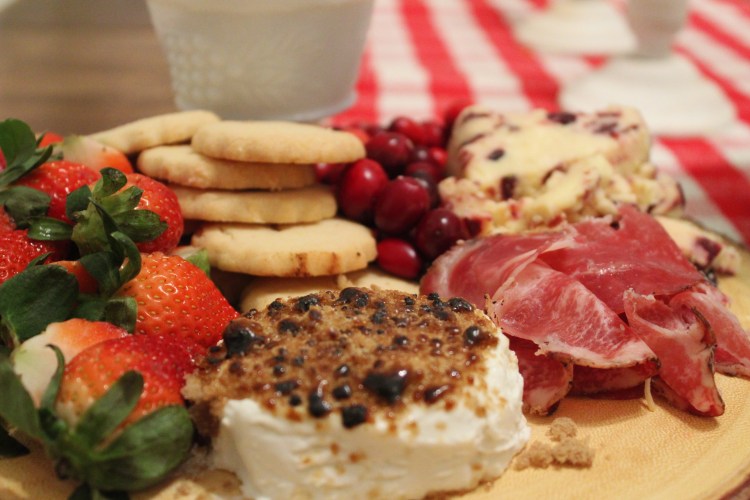
My last couple steps included back-filling any empty spaces with additional crackers, meat, nuts, sweets, and cranberries. As well as torching the final details… A must on my winter boards is Cypress Grove’s Ms. Natural topped with brown sugar and toasted like crème brûlée. It is a showpiece and so tasty. For anyone who says they don’t like goat cheese, have them try this! (Or any of Cypress Grove’s cheeses. I am not a huge fan of goat cheese either, but their fresh, mild, exquisite cheeses are the best.)

And there you have it – my Christmas cheese board(s)! Everything was savory and decadent, and it may have only been Jared and I who snacked up it, but it was well-grazed and loved.

Creating these boards is relatively easy, just follow the basic parameters I’ve outlined above, add pieces that you love, and follow your own creativity! Cheeseboards can be customized for every season, holiday, eater, etc. This particular board only contained a snapshot of my favorite brands and cheese, but I will note below what I have on this board –
Cheese:
- Rumiano Dry Jack – a staple on all my boards. The Peppato and Smoked Mozzarella are also terrific additions to any board.
- Sartori Heritage Cheddar – delish! I also love, love this company.
- Point Reyes Gouda and Original Blue – or any blue of theirs! They do a phenomenal job with every cheese they make, and are a great local company. I was originally introduced to their blue, which I love, but their gouda is my favorite now. It is sweet with a hint of buttery caramel, and just a terrific cheese. Everyone I’ve ever known to try it, is in love.
- Cypress Grove Ms. Natural – Clean, fresh, and amazing with toasted brown sugar! I also normally have their Humboldt Fog on the board. It is another staple that can find a place on any board. Oh, and also another terrific company!
- Clawson Crimson – I love the various fruit blends they do with their Wensleydale! This cheese adds some needed texture and color to the board. The cranberries in the cheese also tie in nicely with the cranberries and reds scattered throughout the board. They have a ton of other great fruit blends that you can choose from depending on the season!
- As far as the brie, I mentioned I grabbed a more generic round to bake with from Grocery Outlet. The cheese I used in the baked brie (I could have gotten away with the same GO brie for this, too) was actually a camembert. Essentially the sister to brie. A good cheese like Le Châtelain should really just be enjoyed by itself, but it worked perfect for this application, too.
Other sides:
- Columbus Meats – I tend to lean towards our family-made sausage and salami, but if I’m going for store bought, Columbus has a great and consistent dry salami, Coppa, and prosciutto. Tip: if you want to add more texture to your board, get a whole stick of salami and thick cut it yourself.
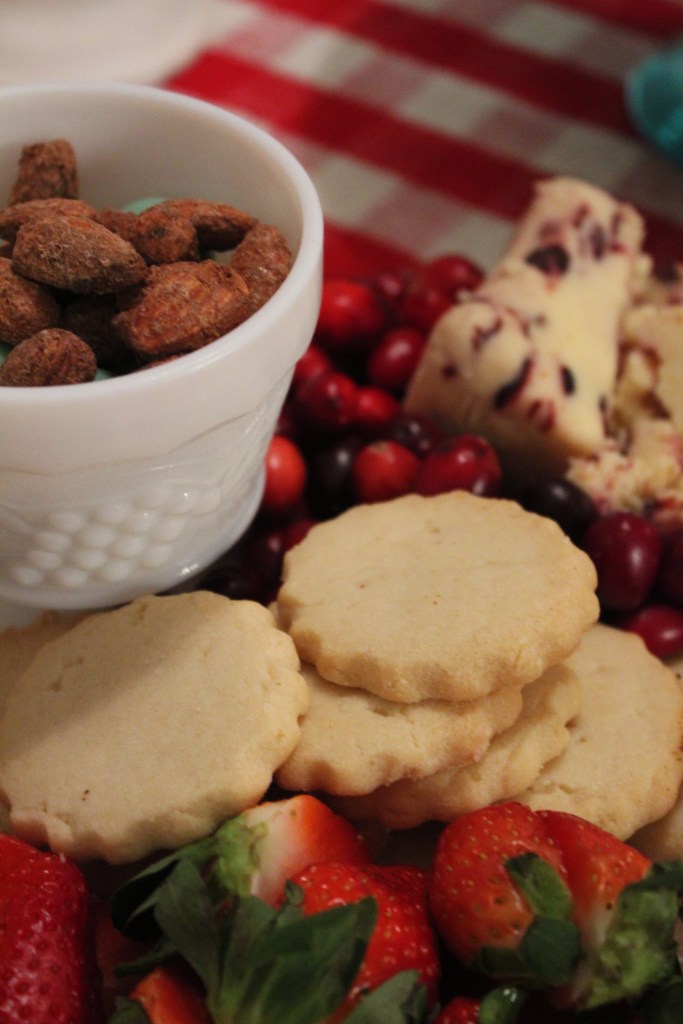
- Rustic Bakery – oh my. Their crackers and cookies are to die for and so many perfect options for a cheeseboard. I used their Vanilla Shortbread Cookies for the sweet side of the board with the crème brûlée Ms. Natural, and the Olive Oil and Sel Gris crackers. They have so many options, all of which are good, they’re a local company, and they have awesome seasonal options. (You’ll also notice I added some generic graham crackers to the board – not a traditional or necessarily sophisticated option, but I love to add them when I have sweet cheeses like the crème brûlée Ms. Natural! They are an easy dessert cracker!)
- Maisie Jane’s nuts – another local company I love. (Also Sohnrey Family Farms!!) I used the cinnamon glazed almonds and mint almonds. Some color, sweetness, and helped round out the overall look.
Okay, that as a whole lot of information… but I hope your mouth is watering and that you’re planning out your own holiday board! They are so easy and fun, and there’s always a little something for everyone. And who doesn’t love an excuse to graze and snack?? No on I want to hang out with… Anyway, I will leave you to your devices. Let your holidays be all things cheese, enjoy the season’s blessings, and love your family and friends big! Please tag me/share with me all the boards you create!
Oh, and Jared helped me “take some photos”, I will go ahead and leave you with this beaute. Either he is going to get recruited as an Insta-photog, or I’m going to become an Instagram model. Big things happenin’ over at our place… (palm to forehead). Cheers!